Workshop-Proven Techniques to Shape, Fix, and Improve Your Prints
Most 3D printing articles focus on slicer profiles, calibration, and materials. Those are important — but they don’t tell the full story.
Once you gain real hands-on experience, you discover something powerful: many 3D printing problems are easier to solve outside the slicer.
Heat, simple tools, and workshop-style techniques can save time, reduce reprints, and unlock shapes that are hard (or inefficient) to print directly.
In this guide, you’ll learn unconventional but proven 3D printing tricks that go beyond software — techniques I regularly use to reshape, assemble, refine, and rescue prints.
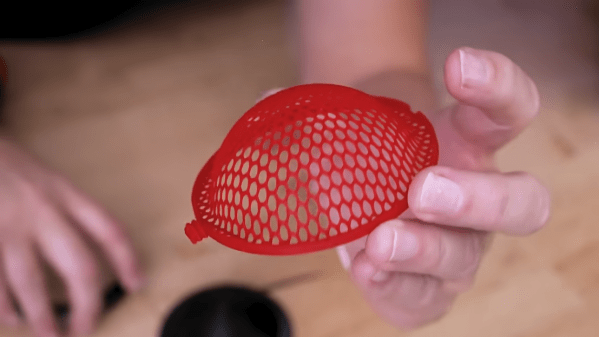
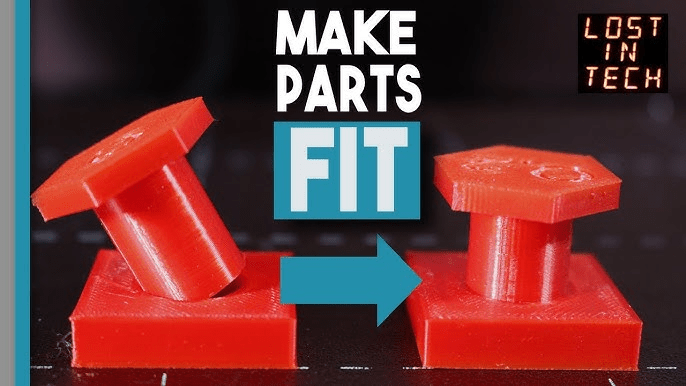
1. Print Flat, Then Shape with Heat
A smarter alternative to printing complex curves
Printing curved geometry often introduces warping, supports, and uneven layer lines. A more reliable approach is to print the part flat and shape it afterward.
Flat prints are inherently more stable and predictable.
Why this works
- Better bed adhesion
- Faster print times
- Cleaner surface finish
- No support scars
Best use cases
- Covers and panels
- Enclosures
- Light structural parts
- Decorative curves
Potential downsides
- Requires careful, even heating
- Overheating can cause sagging or surface gloss changes
Recommended tools for heat bending on amazon:
👉 Use this to soften and reshape larger sections or panels without melting them completely.
Tool to recommend: Adjustable Temperature Heat Gun
👉 [Amazon link – adjustable heat gun]
👉 Precision heating for localized bending, blending, or mild reshaping.
Tool to recommend: Hot Air Rework Station
👉 [Amazon link – hot air rework station]
👉 Use this when you want broad, even heat rather than a focused stream.
Tool to recommend: Silicone Heating Pad / Heat Mat
👉 [Amazon link – silicone heat pad]
Quick Comparison
| Tool | Best for | Pros | Cons |
|---|---|---|---|
| Adjustable heat gun | Large area shaping | Powerful, easy | Too broad for tiny spots |
| Hot air rework station | Fine, local heat | Precise, stable | More expensive |
| Silicone heat pad | Uniform heating | Even warmth, gentle | Slow warm-up |
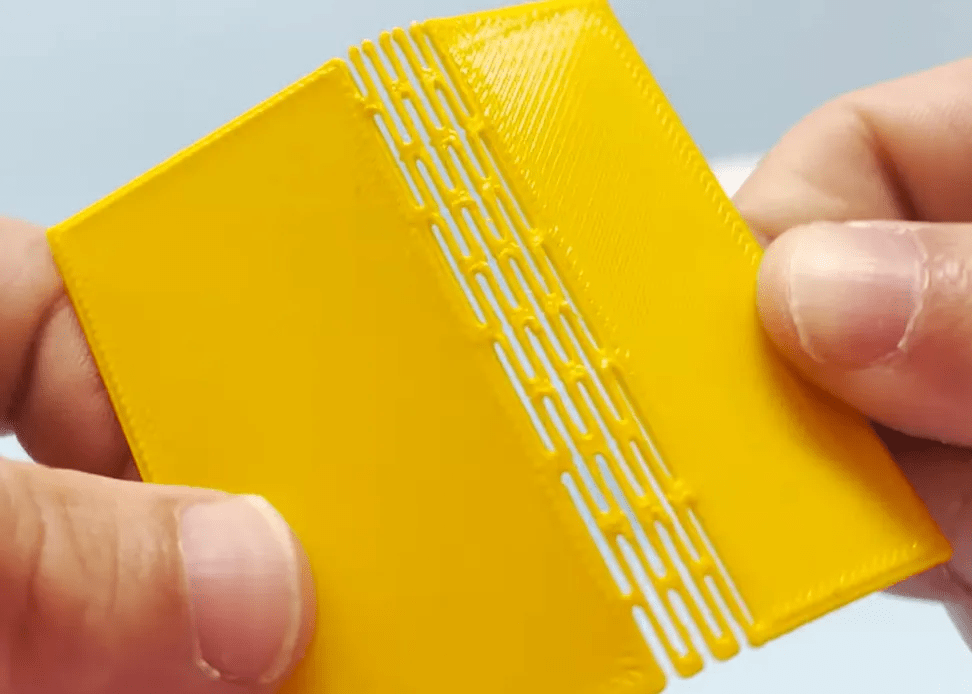
2. Living Hinges & Post-Print Flex Zones
Replace mechanical hinges with smart design
Instead of pins or moving parts, you can design thin sections that bend after printing.
Advantages
- One-piece prints
- No assembly hardware
- Faster production
Common applications
- Snap lids
- Foldable enclosures
- Flexible covers
Design considerations
- Thickness control is critical
- Material choice matters (PLA vs PETG)

Risks
- Too thin = cracking
- Too thick = won’t bend cleanly
Recommended tool:
Digital calipers for precise hinge thickness
👉 [Amazon link – digital calipers]
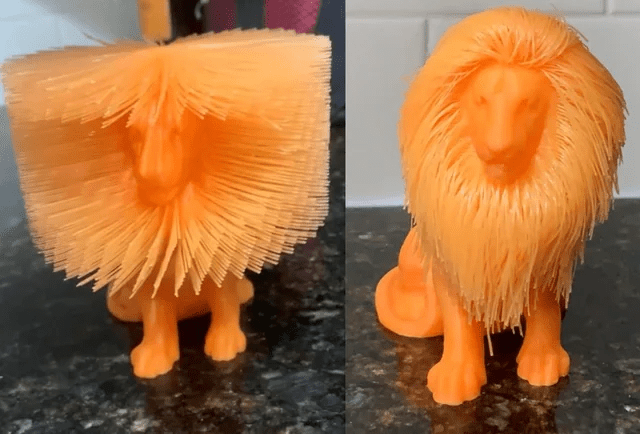
3. Intentional Stringing for Organic Effects
When disabling retractions is the goal
Stringing isn’t always a failure. Used intentionally, it creates organic textures impossible to model traditionally.
Used for
- Hair and fur
- Fabric-like effects
- Organic sculptures
Why it works
- Natural randomness
- Post-processing shapes the result
Downsides
- Not suitable for functional parts
- Requires cleanup and refinement
Recommended tool:
Adjustable Temperature Heat Gun
👉 [Amazon link – adjustable heat gun]
Needle file set for selective shaping
👉 [Amazon link – needle files]
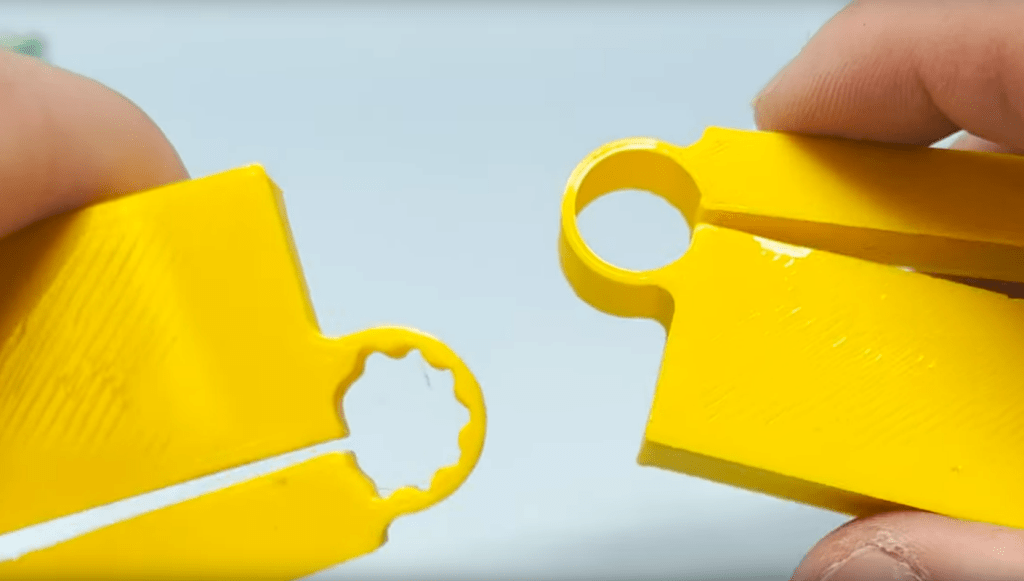
4. Heat-Assisted Shrink Fits & Press Fits
Lock parts together without glue
Heat allows plastic to temporarily expand, enabling clean press fits.
Great for
- Bearings
- Metal inserts
- Tight mechanical joints
Advantages
- Strong mechanical bond
- Clean appearance
- No adhesives needed
Risks
- Excess heat can deform alignment
- Not reversible once cooled
Recommended tools:
Adjustable Temperature Heat Gun
👉 [Amazon link – adjustable heat gun]
Heat-resistant gloves for safe handling
👉 [Amazon link – heat resistant gloves]
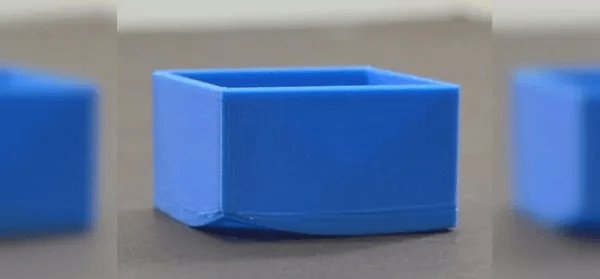
5. Fixing Warped Prints Instead of Reprinting
Rescue large flat parts
Warping doesn’t always mean failure.
Why this works
- Plastic relaxes under heat
- Pressure restores flatness
Steps
- Heat evenly
- Apply pressure
- Cool under load
Limitations
- Severe warping may not fully recover
- Decorative parts respond best
Recommended tool:
Quick clamps for controlled pressure
👉 [Amazon link – clamps]
6. Perfectly Straight Bends Using a Bench Vise
Precision without special tooling
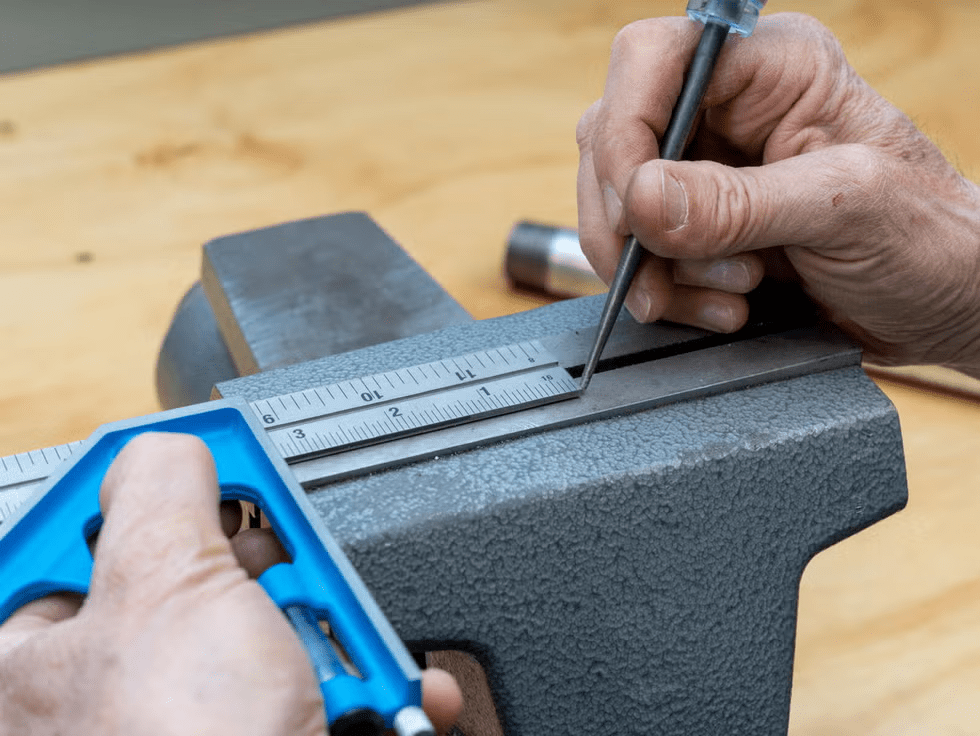
A bench vise turns bending into a controlled operation.
Advantages
- Straight folds
- Consistent angles
- Cleaner results
Risks
- Hard jaws can mark surfaces (use soft jaws)
Recommended tool:
Bench vise with soft jaws
👉 [Amazon link – bench vise]
7. Feeler Gauges for Clearance & Tolerance Testing
Understanding real-world gaps
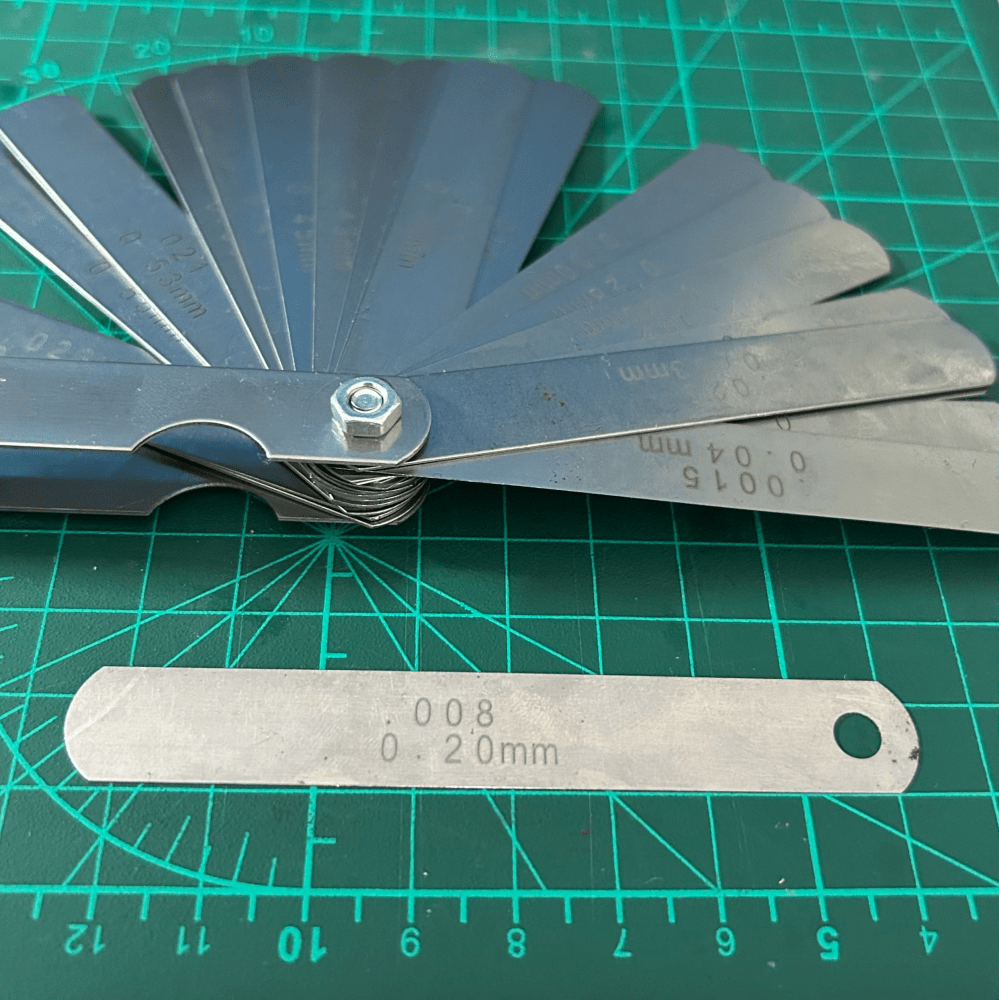
Feeler gauges reveal what slicers don’t.
Used for
- Hinges
- Sliding assemblies
- Clearance testing
Recommended tool:
Metric feeler gauge set
👉 [Amazon link – feeler gauges]
Why Not Everything Belongs in the Slicer
Knowing when to stop tweaking settings
Some problems are physical, not digital.
When post-processing wins
- Faster iteration
- More forgiving
- Better real-world results
Final Thoughts
Mastering 3D printing isn’t just about profiles and firmware — it’s about understanding plastic as a material.
These techniques won’t replace slicers, but they’ll make you faster, more flexible, and far less dependent on perfect settings.
What unconventional trick has saved your prints? Share your experience in the comments.
Some links in this article may be affiliate links. If you purchase through them, I may earn a small commission at no extra cost to you. I only recommend tools I personally use or trust. These commissions help support in-depth tutorials and hands-on 3D printing content.

Leave a comment