Post-processing is where your 3D prints truly come to life. Over the past few years, I’ve tested a wide variety of tools. Some are budget-friendly and some are premium. I use them to refine my prints, smooth out surfaces, and give them that professional finish. In this review, I’ll share my personal experience with the most useful tools. I’ll highlight what works and what doesn’t. I’ll also recommend which ones to use if you want to step up your 3D printing game.
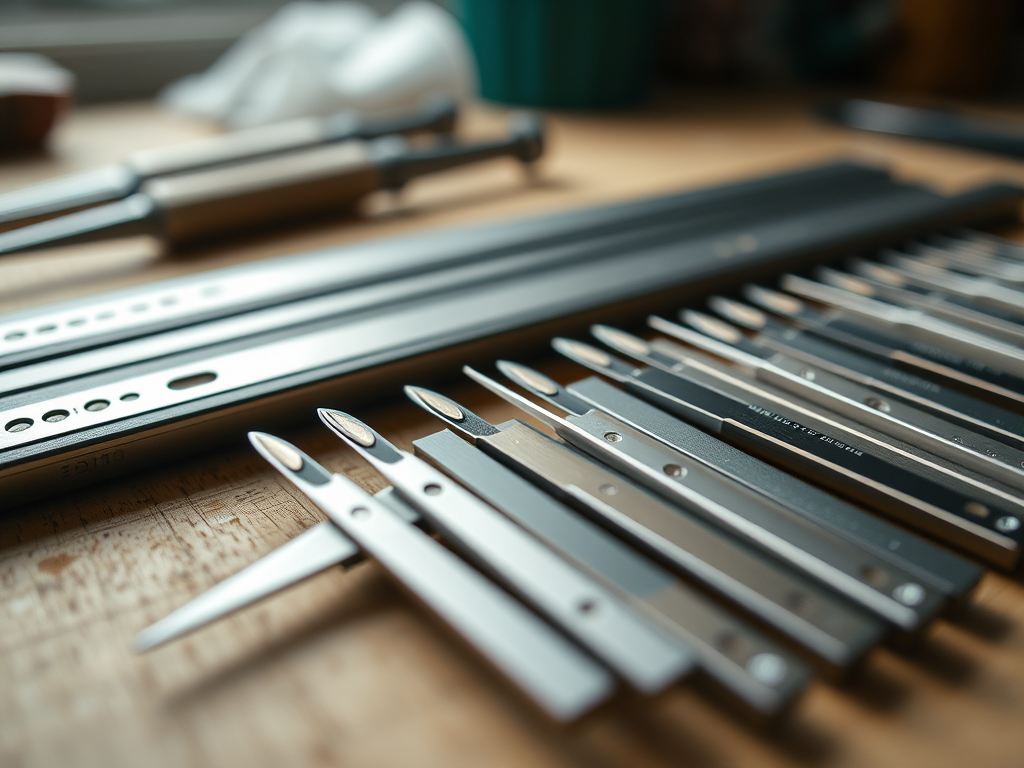
1. Needle Files Set – Precision Smoothing
My experience: A good set of needle files is indispensable. I’ve used them to clean up stringing. They also help remove supports in tight corners. Additionally, they smooth over layer lines on PLA and resin prints. The diamond-coated sets last longer, but even the cheaper steel ones are worth having around.
Maintenance tips: Keep the files dry and clean off any plastic or resin debris after each use to prolong lifespan.
- Pros: Affordable, precise, versatile.
- Cons: Can be slow for larger surfaces.
- Best for: Detailed finishing, support removal in hard-to-reach areas.
👉 Check a reliable Needle File Set on Amazon
2. Rotary Tool (Dremel or Equivalent) – The Powerhouse
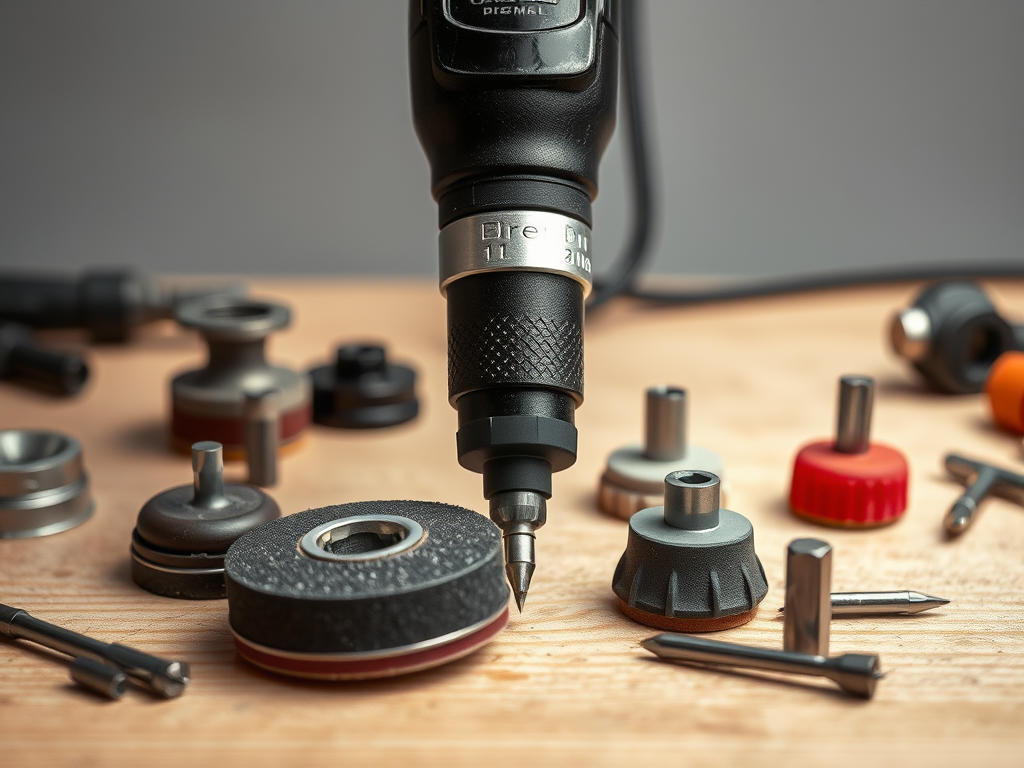
My experience: When I need to work fast, nothing beats a rotary tool. I use sanding drums for PLA, grinding bits for tougher resins, and polishing wheels for final touches. It cuts down hours of manual work.
Maintenance tips: Clean off plastic debris from attachments after use and store in a dry place. Replace worn brushes and bits as needed.
- Pros: Extremely versatile, time-saving, wide range of attachments.
- Cons: Requires control—too much pressure can melt PLA.
- Best for: Large cleanup jobs, polishing, shaping.
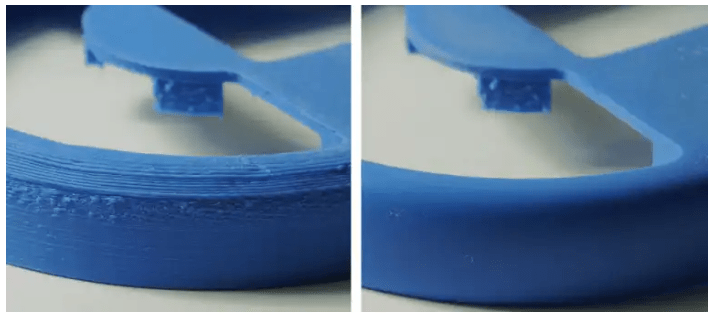
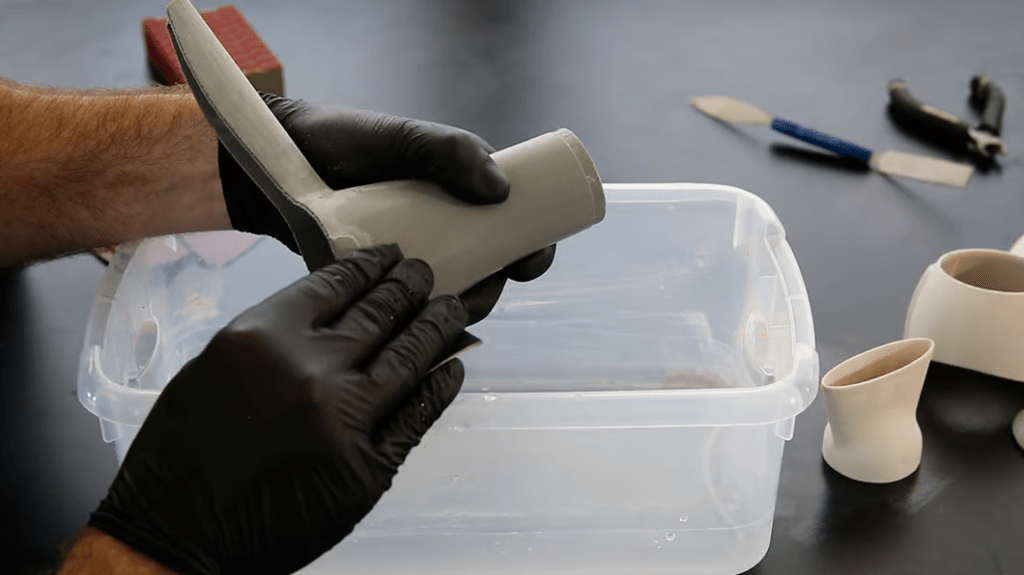
3. Sandpaper Variety Pack – The Classic Choice
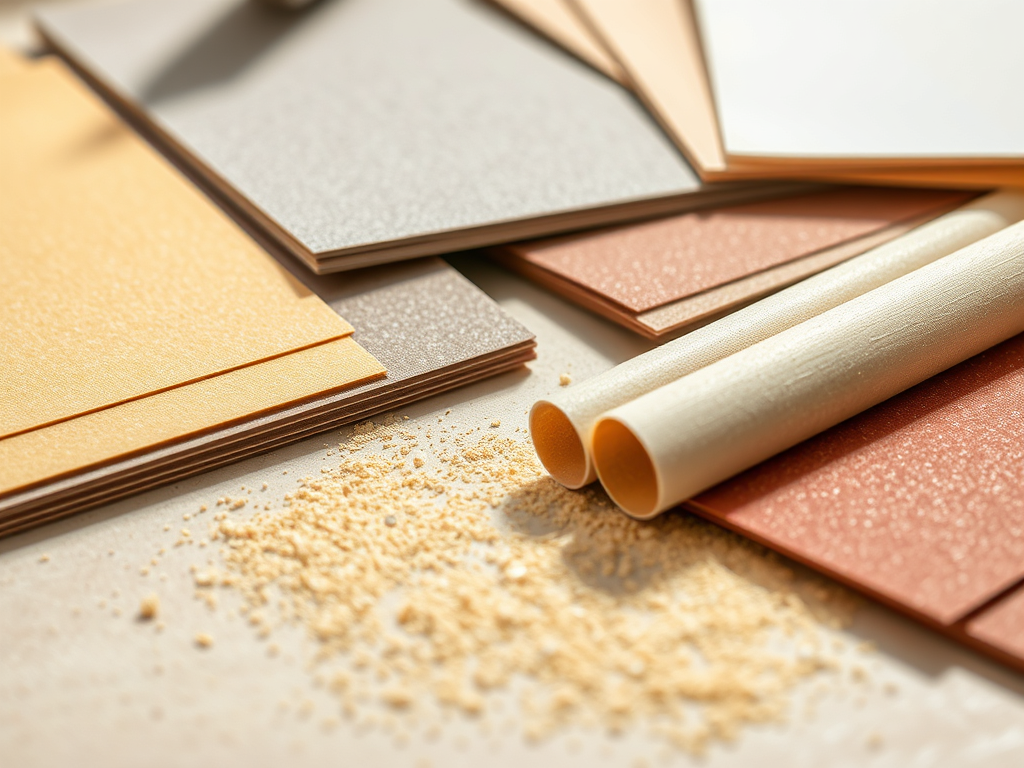
My experience: No post-processing kit is finished without sandpaper. I keep a range from 120 to 2000 grit. Wet sanding at higher grits gives my resin prints a smooth, glass-like surface. It’s manual work, but the results are unbeatable.
Maintenance tips: Keep sandpaper dry, and discard or replace sheets once they get clogged or worn out.
- Pros: Cheap, effective, essential.
- Cons: Labor-intensive, gets messy.
- Best for: Surface finishing, prepping for painting.
4. Deburring Tool – Fast Edge Cleanup
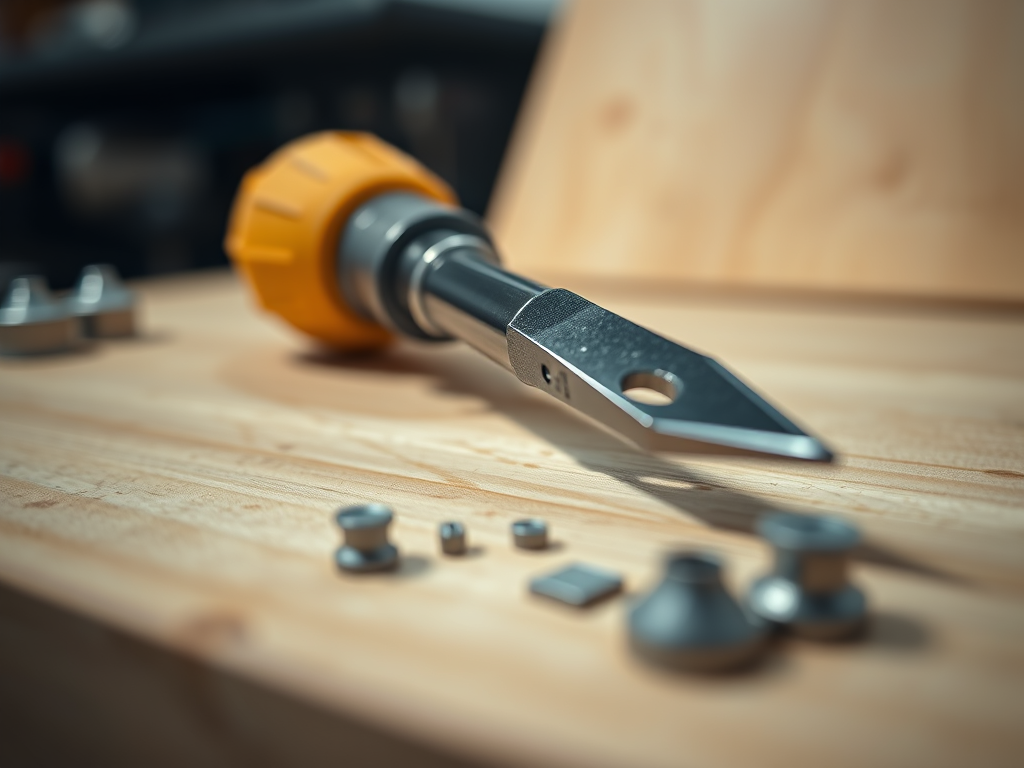
My experience: For removing sharp edges and trimming support scars, the deburring tool is a hidden gem. It feels almost surgical and leaves a much cleaner finish than using a knife alone.
Maintenance tips: Keep the blade clean and replace if it dulls. Store with a protective cap.
- Pros: Quick, precise, ergonomic.
- Cons: Limited to edges—not for general sanding.
- Best for: Removing brim/scar marks, trimming edges.
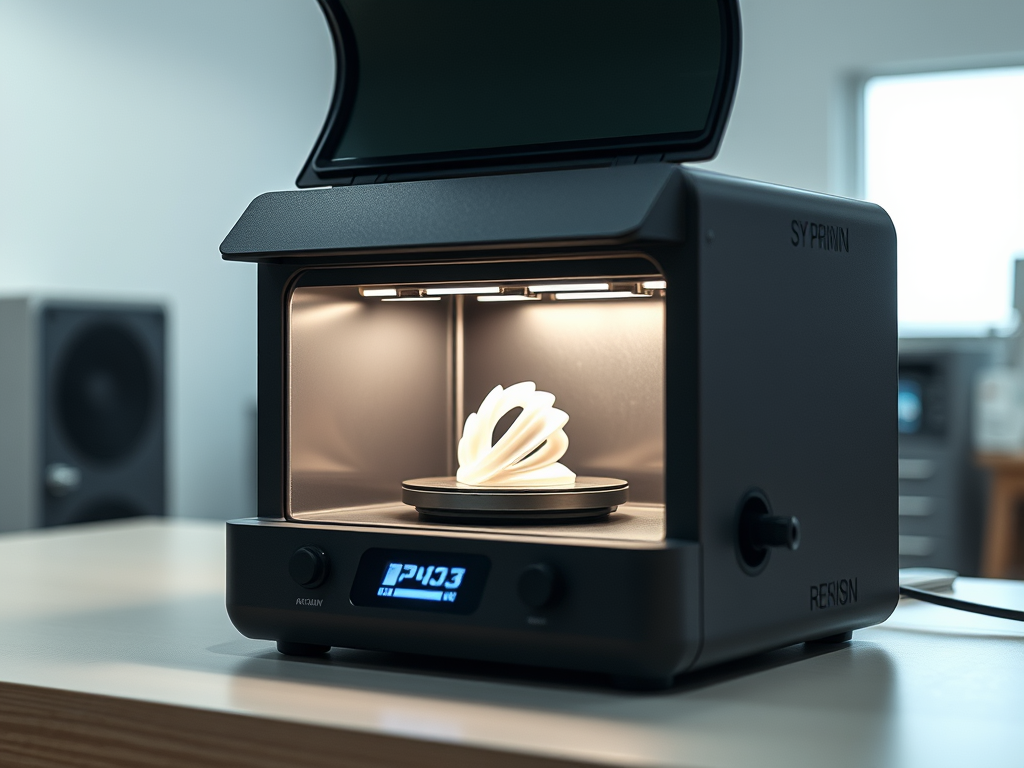
5. UV Curing Station – Resin Printing Essential
My experience: After trying DIY UV lamps and even direct sunlight, investing in a proper curing station was a game-changer. It ensures even curing, stronger prints, and way fewer sticky surfaces.
Maintenance tips: Clean the platform after each use, avoid spilling resin on LEDs, and follow manufacturer’s safety guidelines.
- Pros: Professional results, reliable curing, saves time.
- Cons: Pricier than DIY solutions.
- Best for: Resin printing (mandatory, really).
👉 See curing stations on Amazon
Comparison Table
| Tool | Best Use | User Rating | Price | Maintenance Tip |
|---|
| Needle Files | Detail work | ★★★★☆ | $ | Clean debris after each use |
| Rotary Tool | Large cleanup | ★★★★★ | $$$ | Clean bits, replace brushes |
| Sandpaper | Surface smoothing | ★★★★☆ | $ | Keep dry, replace clogged sheets |
| Deburring Tool | Edge cleanup | ★★★★☆ | $ | Keep blade sharp and capped |
| UV Curing Station | Resin prints | ★★★★★ | $$$ | Clean platform, avoid resin spills |
Final Thoughts
If I had to pick just two must-have tools, I’d go with a rotary tool because of its versatility. I would also choose a good set of sandpapers for that final, professional finish. If you’re working with resin, a curing station is absolutely non-negotiable. The rest depends on your workflow and how much detail you want to put into post-processing.
Each of these tools has earned its place on my workbench, and I honestly can’t imagine working without them. If you’re serious about improving your prints, consider adding just one or two of these tools to your setup. They will make a huge difference.
Pro tip: Don’t cheap out on tools you’ll use daily. A reliable file or a quality rotary tool pays for itself in time saved and frustration avoided.
Your Turn:
Have you tried any of these post-processing tools in your 3D printing projects? Or do you have a favorite tool that wasn’t mentioned here? Share your experiences, tips, and photos in the comments below—I’d love to see how you improve your prints!
Affiliate Disclaimer:
Some of the links in this article are affiliate links. This means I may earn a small commission if you buy through them, at no extra cost to you. I only recommend products I personally use and trust.

Leave a reply to The Best 3D Printers for Beginners in 2025 – 3DPrintips Cancel reply