Resin 3D printing (SLA, MSLA, DLP) can produce incredible detail — but only if you master post-processing.
Once your model comes out of the vat, it’s still coated in uncured resin. It is soft to the touch and chemically unstable.
What you do next determines whether your part looks amateur and cloudy or crystal-clear and professional.
In this guide, I’ll walk you through every stage. These stages include cleaning, curing, sanding, polishing, and sealing. I’ll also share the exact tools and materials I use. Additionally, I include links to trusted Amazon products that have given me consistent results.
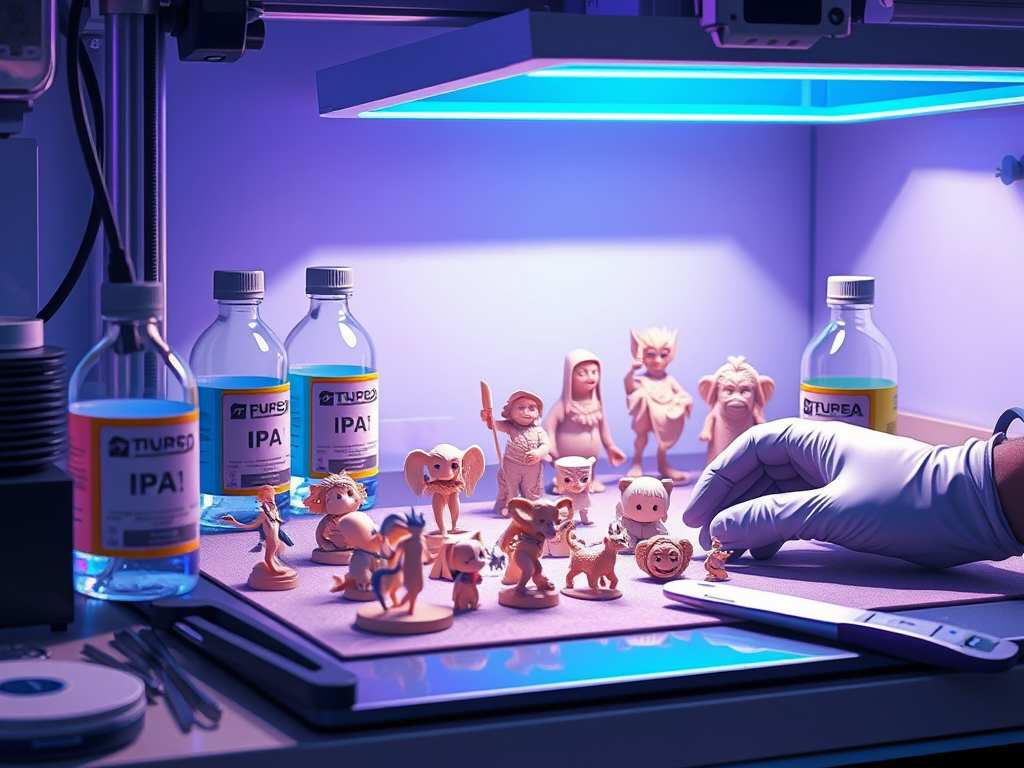
🧼 Step 1: Cleaning the Print — Removing Uncured Resin
As soon as you remove the model from the build plate, clean it to remove all liquid resin.
The best choice is Isopropyl Alcohol (IPA) 99%, as lower concentrations leave white streaks and residue.
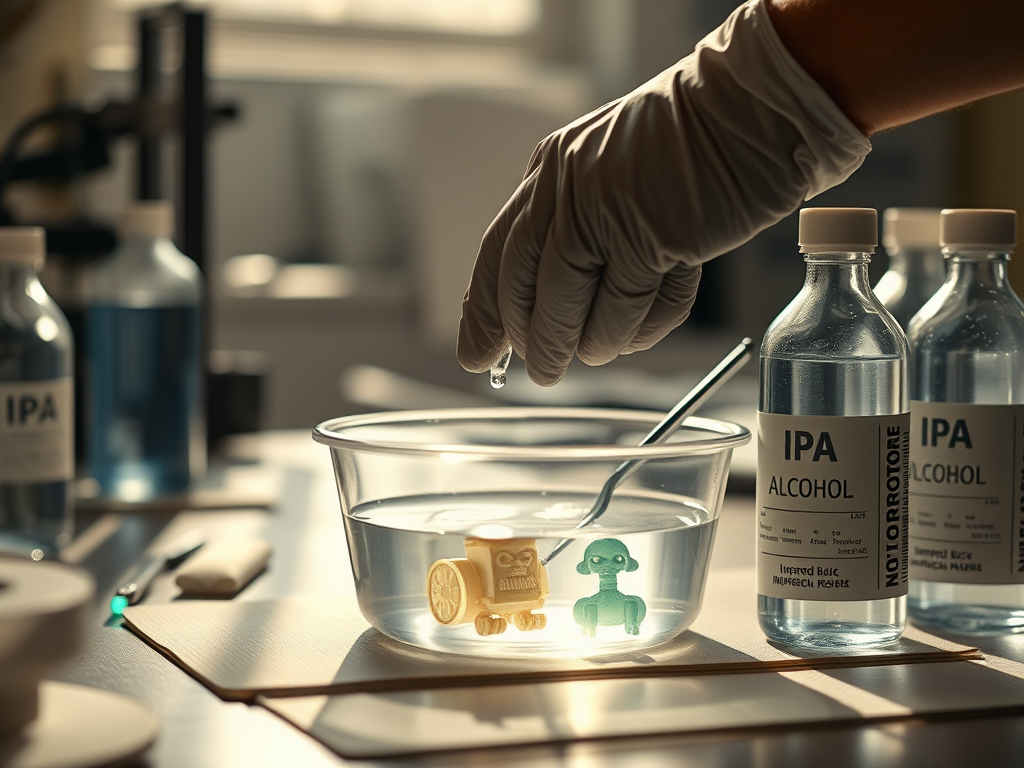
Cleaning Options:
- Manual wash: Place the model in a container with IPA and swirl gently for 2–3 minutes.
- Ultrasonic cleaner (see on Amazon): the micro-vibrations reach fine crevices and details effortlessly.
- Wash & Cure Station (see on Amazon): the most convenient all-in-one solution — agitates and cures in one go.
💡 Tip: Always wear nitrile gloves (see on Amazon). Use a sealed container because IPA evaporates quickly and is flammable.
If your model still feels sticky afterward, give it a second rinse in fresh IPA or denatured alcohol.
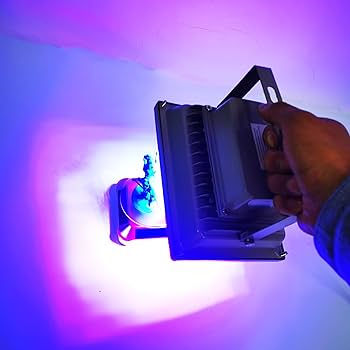
☀️ Step 2: UV Curing — Hardening the Structure
After washing, your model is partially polymerized.
To reach full mechanical strength, it must be UV cured.
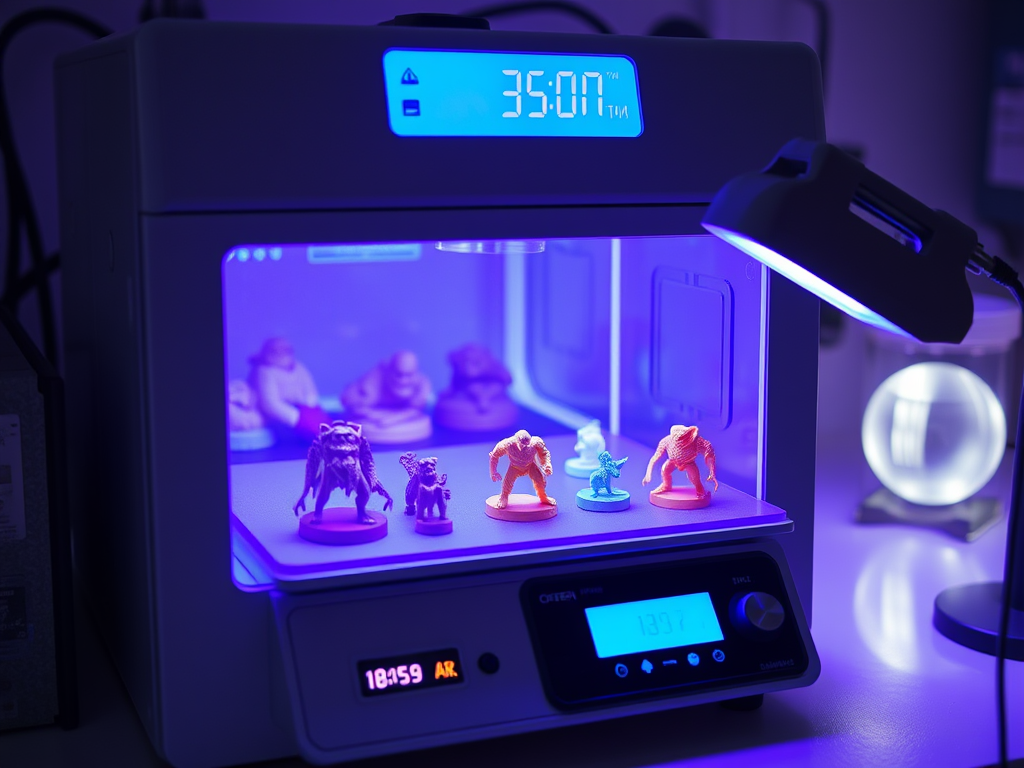
Here are your options:
- Dedicated UV curing station (see on Amazon): provides consistent, even exposure.
- Nail salon UV LED lamp (see on Amazon): a budget-friendly choice for small models.
- Sunlight curing: free, but slower and can cause yellowing if overexposed.
💡 Pro tip: Rotate your print every few minutes to avoid uneven curing.
For thick models, cure in short bursts (30–60s) to prevent brittleness or cracks.
For spot fixes, a handheld UV flashlight (see on Amazon) is a life-saver.
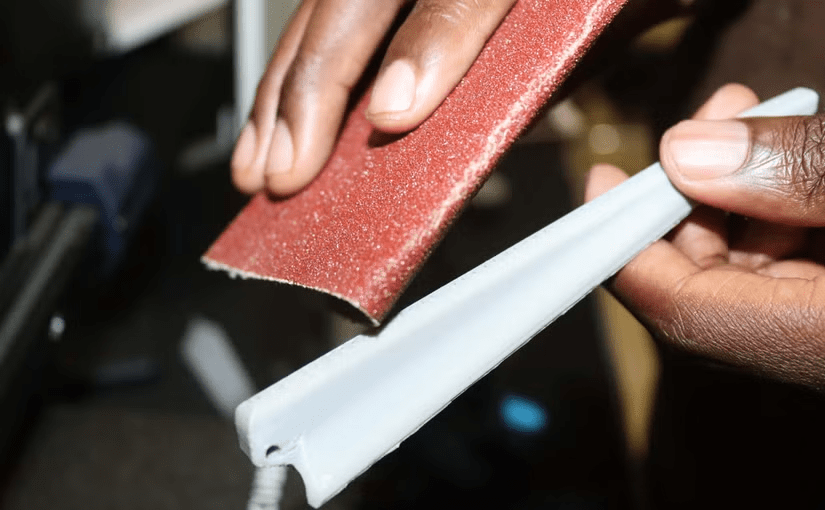
🪵 Step 3: Sanding and Smoothing the Surface
Once the print is cured, it behaves like hard plastic.
This is where you remove support marks, layer lines, and surface roughness.

Recommended tools:
- Wet sandpaper set (400–2000 grit) (see on Amazon)
- Mini belt sander or sanding block (see on Amazon)
- Spray bottle with water + a touch of IPA to keep the surface wet.
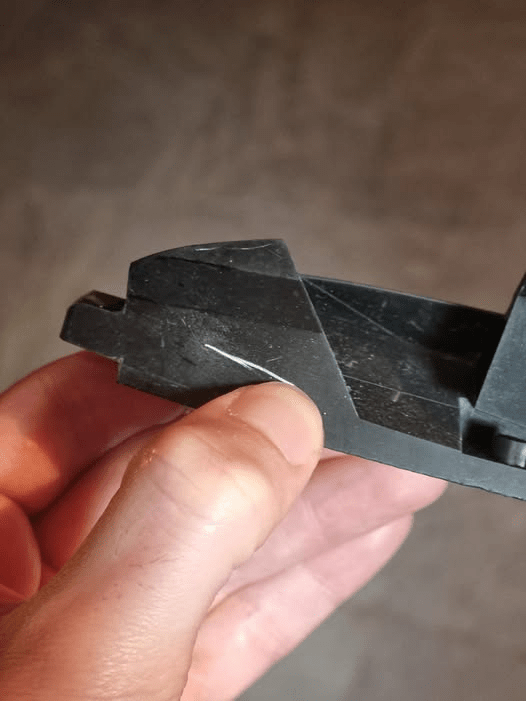
💡 Always sand wet.
Dry sanding creates toxic dust and those cloudy “white scratches” that ruin clarity.
Wet sanding keeps the surface cool, smooth, and transparent.
If you want a matte finish, stop around 800–1000 grit.
If you want a glass-like shine, use 2000 grit. Then move on to polishing.
✨ Step 4: Polishing — The WD-40 Trick and Gloss Restoration
After sanding, your model will look dull or cloudy.
Don’t worry — that’s normal. Those are micro-scratches scattering the light.
Here’s how to bring it back to life:
- Use a fine plastic polish compound (see on Amazon) with a soft microfiber pad or Dremel polishing bit.
- For translucent resins, lightly spray WD-40 or a silicone-based oil (see on Amazon) on the surface. This fills micro-scratches. It makes the model look perfectly transparent.
- Alternatively, apply a thin coat of clear acrylic spray (see on Amazon) for long-term protection and a glossy finish.
💡 Pro tip: The “white streaks” you sometimes see after sanding are due to microscopic scratches that bend the light. Oils like WD-40 fix that instantly by matching the refractive index of the resin.
🔦 Step 5: Spot Curing and Detailing
Sometimes, after sanding or assembling multiple parts, a small section remains tacky or undercured.
That’s where a UV pen light (see on Amazon) comes in handy.
You can also use it to re-harden tiny joints or edges after gluing.
For more control:
- Mini UV flashlight (see on Amazon) — precise and portable.
- Articulated UV lamp (see on Amazon) — for workshop setups where you need hands-free curing.
🧰 Step 6: Optional — Painting and Protective Coatings
Once polished, your model is ready for painting or sealing.
Use a UV-resistant primer followed by acrylic paints.
If you want to preserve translucency, apply a few coats of clear UV-protective varnish. This method will prevent yellowing over time.
🧠 Frequently Asked Questions (FAQ)
1. What’s the best way to clean uncured resin off my prints?
The most effective method is using isopropyl alcohol (IPA) between 91–99% concentration. Gently agitate your prints in a sealed container or wash station for 2–3 minutes. I personally recommend this IPA on Amazon — it’s clean, evaporates quickly, and doesn’t leave residue.
If you want to reduce waste, try a two-stage rinse (first bath dirty, second clean). It dramatically extends the lifespan of your IPA.
2. Can I use anything other than alcohol for cleaning resin prints?
Some users prefer Mean Green or Simple Green. Others prefer specialized resin cleaners like Elegoo’s Resin Cleaning Solution. These are less volatile and reusable.
Nonetheless, I’ve found IPA still works best for a deep clean and faster evaporation before curing.
3. How do I avoid white marks or “frosting” after sanding?
Those white streaks are because sanding creates micro-scratches that scatter light. To fix this, apply a light coat of WD-40, mineral oil, or even a clear acrylic gloss spray.
Personally, I use WD-40 Multi-Use — it’s inexpensive, restores clarity, and adds a smooth finish without affecting the resin.
4. What’s the right way to cure resin prints?
After washing and drying, cure your model under a UV curing station for 5–10 minutes depending on resin type. Over-curing makes resin brittle, so timing matters.
For small touch-ups, use a handheld UV lamp. It’s great for curing precise zones like supports or repaired areas.
5. Do I need to sand resin prints before painting?
Yes — even with high-resolution prints, a quick sand improves primer adhesion and removes layer lines.
Start with 600–800 grit wet sandpaper, then move to 1000–2000 grit for polishing. I use this waterproof sandpaper set because it holds up well with IPA and lasts through dozens of prints.
6. Is it worth using a mini sander or rotary tool for post-processing?
Definitely — if you work on multiple prints or larger surfaces, use a mini belt sander or Dremel-style rotary tool. These tools save time and give you consistent results.
Just be gentle with speed; too much heat can warp resin. I’ve tested the Dremel 4000 kit, and it’s perfect for both resin and FDM finishing work.
7. How can I make resin prints perfectly glossy?
After sanding with fine grit and wiping clean, spray a clear UV-resistant coat (acrylic or polyurethane). This seals the surface, protects color, and makes transparent parts crystal clear.
You can find my go-to gloss spray here on Amazon.
🧰 Resin Post-Processing Resource List
Here’s a quick summary of all the tools and materials mentioned in this guide — perfect for bookmarking and building your resin workstation:
🧼 Cleaning & Washing
- Isopropyl Alcohol (IPA, 99%) – essential for removing uncured resin from prints.
👉 Amazon link – Isopropyl Alcohol 99% - Soft Brushes & Rinse Containers – to clean delicate surfaces without scratching.
👉 Amazon link – Resin Cleaning Kit
🌞 Curing & Finishing
- UV Curing Light / Lamp – for post-curing parts evenly or spot-curing detailed areas.
👉 Amazon link – UV Curing Lamp - UV Safety Glasses – always protect your eyes during curing.
👉 Amazon link – UV Protection Glasses
🪵 Sanding & Smoothing
- Wet Sandpaper Set (400–3000 grit) – for progressive smoothing before polishing.
👉 Amazon link – Sandpaper Assortment - Mini Belt Sander / Rotary Tool – speeds up sanding and shaping for larger parts.
👉 Amazon link – Mini Belt Sander - WD-40 or Mineral Oil – apply lightly to enhance optical clarity and hide micro-scratches.
👉 Amazon link – WD-40 Spray
✨ Polishing & Finishing Touches
- Microfiber Cloths – for the final polish without leaving residue.
👉 Amazon link – Microfiber Cloth Pack - Clear Gloss Spray / Acrylic Coating – for a glossy, professional finish.
👉 Amazon link – Clear Gloss Spray
💬 Final Thoughts
Post-processing is what separates a “printed model” from a “finished product.”
Once you learn how to control surface clarity, you can transform your resin prints. By mastering sanding pressure and curing time, your prints will look injection-molded.
I’ve tested dozens of these tools and techniques over the years. The products I’ve linked above are the ones that have consistently given me the best, most repeatable results.
If you found this guide useful, check out my related articles:
- Essential Tools for Resin Post-Processing
- FDM Support Structures: Full Guide
- Best Accessories for Every 3D Printing Setup
Have you tried any of these resin post-processing techniques? What’s your go-to method for achieving a smooth, clear finish?
Share your workflow in the comments — your tips can help someone level up their prints!
Affiliate Disclaimer
As an Amazon Associate I earn from qualifying purchases. Some of the links above are affiliate links. This means I earn a small commission if you buy through them. It comes at no extra cost to you. Every recommendation here comes from tools and upgrades I’ve personally tested and use in my own workshop.

Leave a reply to The Best 3D Printers for Beginners in 2025 – 3DPrintips Cancel reply